Projects · Rooms
The Rooms tab breaks a project down by room or area. Instead of treating a job as one undifferentiated space with a single lump-sum budget, you capture each space as its own entry — with its own name, type, budget and date — so the project is organised and costed the way the building is actually laid out. This guide shows you where the tab is, what each field means, and exactly how to add a room.
Where it is
Top navigation → Projects → open a project to reach its detail page (/projects/:id) → the Rooms tab in the row of project tabs.
Why split a project into rooms
What it is — a way to split the project's scope and budget per space, each room captured as its own entry under the Rooms tab.
Why it matters — most real jobs aren't one undifferentiated space — a home is a master bath, a kitchen, a living room. Breaking the project into rooms lets you organise the work the way the building is actually laid out and, crucially, allocate a budget to each space so you can see where the money is going room by room instead of as one lump sum. It mirrors how clients think and talk about their own project.
What's on the screen
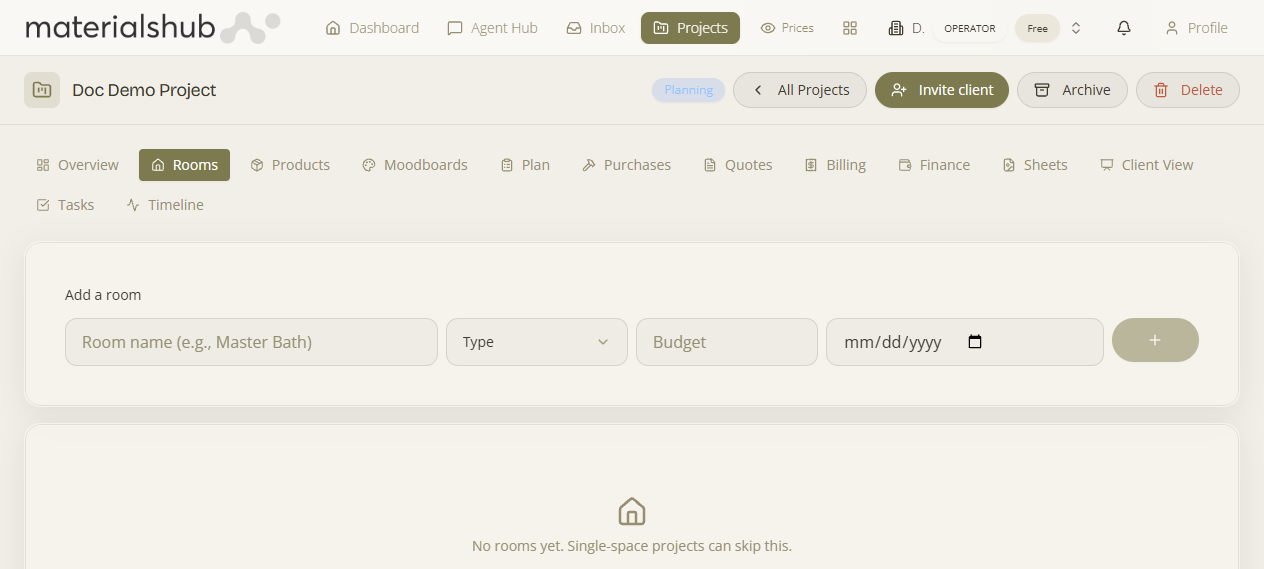
The Rooms tab lists each space you've added to the project, and an Add a room control to create a new one. When you add a room you fill in:
- Room name — what to call the space, e.g. Master Bath.
- Type — the kind of space.
- Budget — the amount allocated to that room.
- Date — a date for the room.
How to add a room — step by step
- Open the Rooms tab and click Add a room.
- Enter the Room name — e.g. Master Bath.
- Choose the Type — the kind of space.
- Set the Budget — the amount allocated to that room.
- Set a Date for the room, and save.
Worked example — a bathroom remodel. Open the project → Rooms → Add a room → set Room name to Master Bath, choose its Type, set the Budget for that space, pick a Date, and save. Repeat for the kitchen and the living room — each space now has its own allocated budget, so you can see where the money is going room by room instead of as one figure.
What it affects
Rooms give the project a per-space structure and per-room budgets, so the project is organised and costed by area rather than as a single figure. Repeat for each space in the job.
In short: add one room per space — name, type, budget and date — to mirror how the building is laid out and how clients think about their own project, and to track the budget area by area. See the Projects overview for how Rooms fits alongside the project's other tabs.