Settings · Statement PDF
The Statement PDF section brands the account-statement document you email to a customer or supplier. You upload a cover / page backdrop image — and, optionally, a footer image — and from then on every statement sent out carries your design instead of the plain default.
Where it is
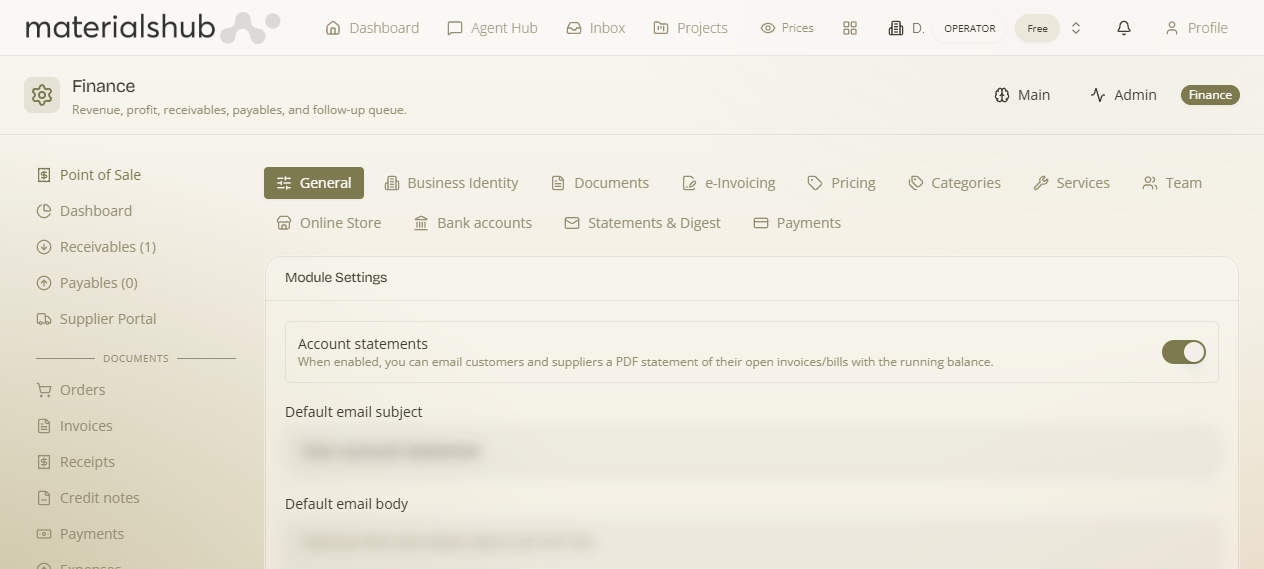
Top navigation → Finance → Settings tab → Statement PDF (in the row of settings sub-tabs).
What's on the screen
A panel titled Statement PDF Design with two upload slots:
- Cover / page backdrop — the image used as the background behind the statement's pages. Click Upload to choose a file.
- Footer image (optional) — an image placed in the footer area of the statement. Also uploaded via its own Upload button; leave it empty if you don't need one.
How to brand your statement — step by step
- Go to Finance → Settings → Statement PDF.
- Under Cover / page backdrop, click Upload and select your background image.
- Optionally, under Footer image, click Upload and select a footer graphic. Skip this if you don't want a footer.
- The uploaded images are applied to the statement design straight away — no separate save step is needed beyond the uploads.
- Generate an account statement from Customers & Suppliers to confirm the branding looks right before sending.
Worked example — putting your brand on statements. Open Statement PDF → upload a branded page backdrop with your logo and colours as the Cover / page backdrop → upload a thin footer strip with your contact details as the Footer image. Now go to Customers & Suppliers, open a customer, and email their statement: the PDF carries your backdrop and footer automatically.
What it affects
These images are applied to the account-statement PDF that you email from Customers & Suppliers (the Finance operations area). They change only how that statement looks — its data is unchanged. Nothing here affects invoices or receipts, which carry their own invoice design template under Settings → Documents.