Documents · Receipts
Receipts are your proof-of-payment documents — the record that money has actually changed hands. They sit on their own tab alongside Invoices, Credit notes and Expenses, and they're the document type behind every sale rung up at the till. This guide covers where the tab lives, how to read the list, how to create a receipt step by step, a worked example, and what a receipt affects elsewhere in the platform.
Where it is
Top navigation → Finance → the Receipts tab (in the row of document tabs alongside Invoices, Credit notes, Payments, Expenses and Delivery notes). Each tab is one document type; they share the same look and toolbar concepts, so once you know one you know them all.
Before you issue your first document, set up Finance Settings — your business identity, a numbering series per document type, and your categories. Those settings supply the issuer details, the legal sequential number, and the income category picker you'll use here.
The list view
What it is — the list of every receipt you've issued. When you'd use it — when money has actually changed hands, including every sale rung up at the till; or to find and re-open a past receipt. How — click New to create one in the editor, or Open POS to ring up a sale that produces a receipt directly. The rest of the toolbar mirrors Invoices — manage the Income category list, filter by category, and search by number or customer when the history gets long.
Toolbar: New · Open POS · Income category (manage list) · All categories filter · search by number / customer.
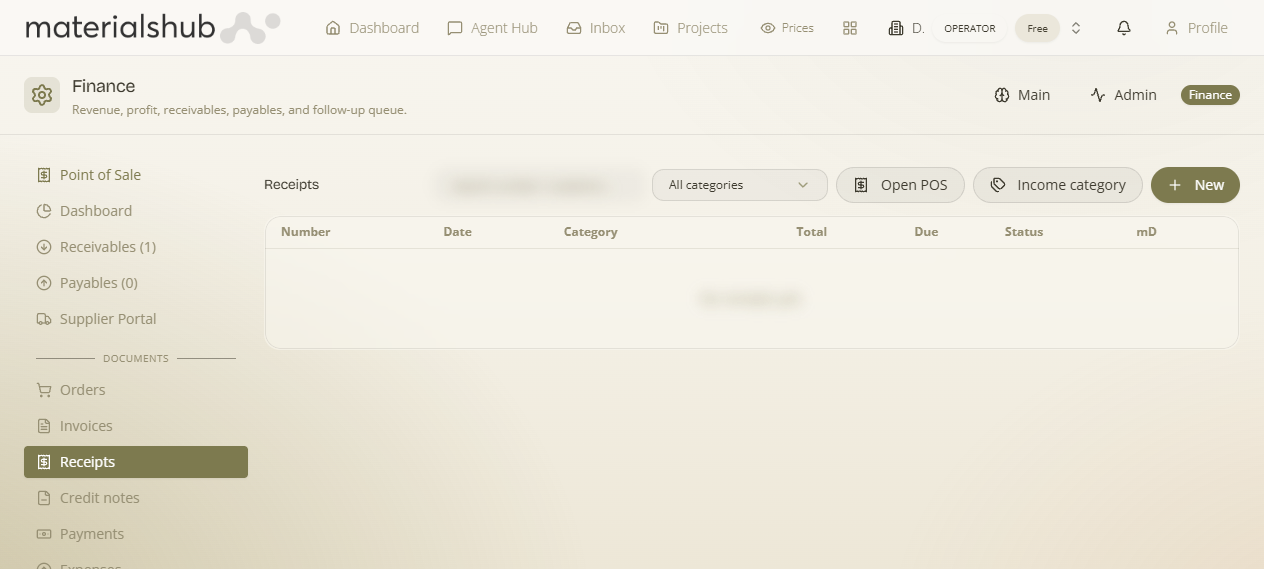
The columns let you read the state of each receipt at a glance — note the Due column (what's still outstanding) and mD (whether it has reached the tax authority):
| Column | What it shows |
|---|---|
| Number | The receipt number. |
| Date | The issue date. |
| Category | The income category assigned. |
| Total | The gross document total. |
| Due | The amount still outstanding. |
| Status | The document status. |
| mD | The myDATA transmission status — whether the document has been transmitted to the tax authority (ΑΑΔΕ). |
Receipts from the POS: a receipt doesn't have to be typed into the editor — every sale rung up at the till produces one directly. Use Open POS on the toolbar to ring up a sale, and the resulting receipt appears in this list like any other. See the POS guide for the till flow.
How to create a receipt — step by step
- Open Finance from the top navigation, then select the Receipts tab.
- Click New to start a receipt in the editor (or click Open POS to ring up a sale that produces a receipt directly).
- Pick the customer and add the line items (products/services with quantity, price and VAT).
- Assign an income category from the document header so the receipt lands in the right report bucket.
- Review the totals (net, VAT and gross) to confirm the figures.
- Save; issue the receipt when ready.
Receipts and invoices both count as income, so both carry an Income category. The difference is intent: an invoice is a demand for payment (it can sit unpaid in Receivables), a receipt records that payment was made.
Worked example — a walk-in sale at the counter. Open Finance → Receipts → click Open POS → ring up the items the customer is buying → take payment. The till produces a receipt and it drops straight into the Receipts list, already carrying its number, date and total — no re-keying.
What it affects elsewhere
Receipts you issue here count as income: they feed Receivables and the Dashboard automatically, and (when enabled) transmit to ΑΑΔΕ / myDATA on issue — that's what the mD column reflects. Nothing here is a dead end; every issued document moves a balance or a report.
See also: Financial Documents, POS, e-invoicing and Finance settings.