Greek e-invoicing (myDATA) — set it up and use it
If you invoice in Greece, every invoice and receipt has to be reported electronically to the tax authority (ΑΑΔΕ) through myDATA. MaterialsHub does this for you at the moment you issue a document — but only after you've filled in a few details. This page walks the whole thing end to end: what you need before you start, exactly which fields to fill and where to find them, and how issuing an invoice actually transmits it.
The short version: fill in your Business Identity, set up your document numbering series and paste your myDATA credentials, mark e-invoicing active, then issue invoices with “Submit to myDATA on issue” ticked. The four setup areas are all under Finance → Settings; issuing happens on Finance → Invoices.
Before you start — what you need from ΑΑΔΕ
myDATA reporting uses credentials you get from the tax authority, not your normal TaxisNet login. Have these ready:
- Your company's tax details — VAT number (ΑΦΜ), tax office (ΔΟΥ) and registered address. (The app can fetch most of these for you — see Step 1.)
- myDATA REST API credentials — a User ID and a Subscription Key, issued from your ΑΑΔΕ myDATA account when you register for REST API access. You'll paste both into the platform (Step 2). These are what let the platform talk to myDATA on your behalf.
Don't have the myDATA REST credentials yet? You can still set everything else up and create draft invoices; you just won't be able to transmit until the credentials are in. Get them from your ΑΑΔΕ myDATA account's API-access / authorisation section (they appear as a user id and an Ocp-Apim-Subscription-Key).
Step 1 — Your Business Identity (the issuer details)
Where: top nav → Finance → Settings → Business Identity. These details print on every document and are sent to myDATA as the issuer — they're mandatory.
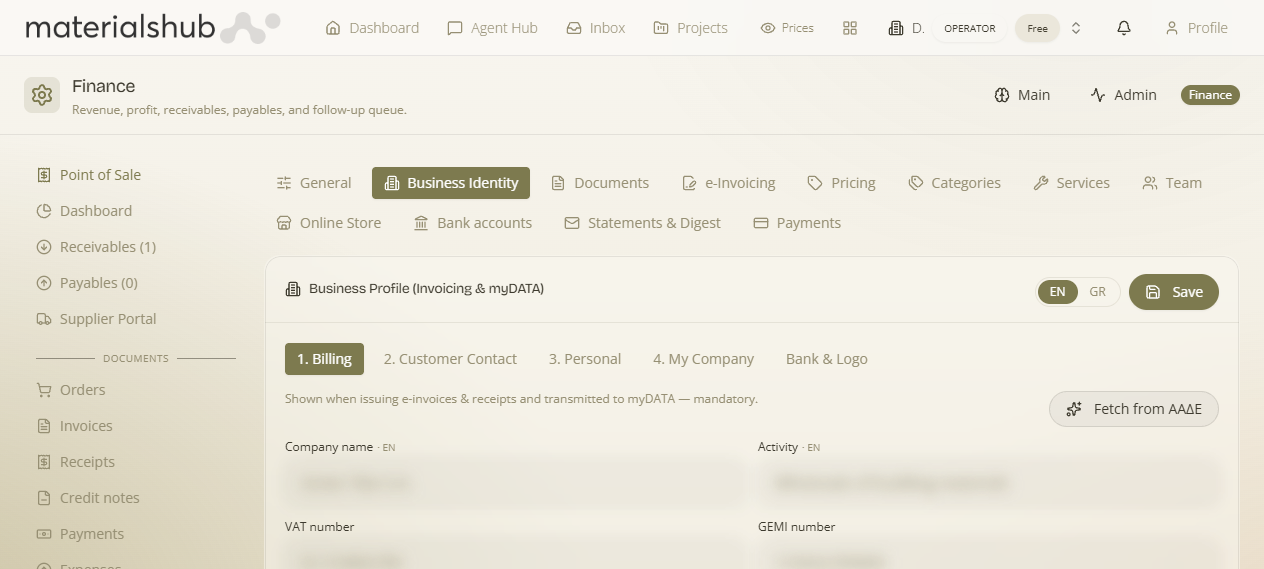
- Make sure the language toggle is on GR (Greek details are what myDATA expects).
- In the Billing sub-tab, type your VAT number (e.g.
EL123456789) and click Fetch from ΑΑΔΕ — it fills your Company name, Activity, Tax office and registered address from the official registry. - Fill anything not returned: GEMI number, Phone, Email, and the bank/IBAN and logo under Bank & Logo.
- Click Save.
Full field list: Settings · Business Identity.
Step 2 — Document series & myDATA credentials
Where: Finance → Settings → Documents.
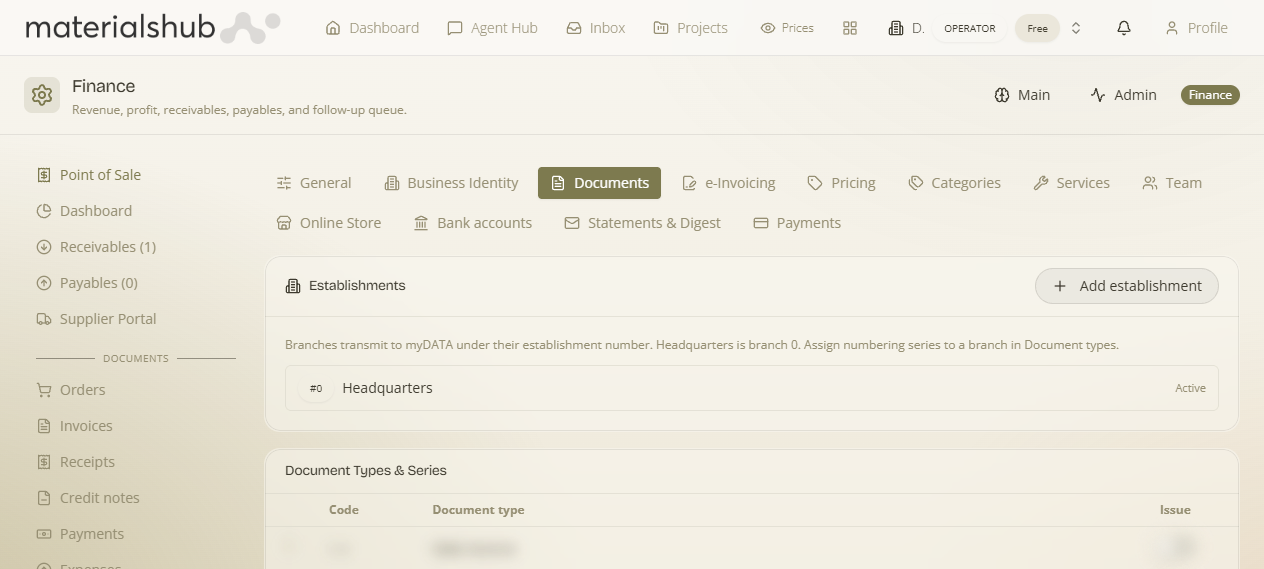
- Establishments. Click Add establishment and add your premises. Your headquarters is branch 0; add branches as needed (each reports to myDATA under its own establishment number). Fill Branch number, Name, and the address; Save.
- Document Types & Series. Create a numbering series for each document type you'll issue (sales invoice, receipt, etc.) and assign it to a branch. This is what produces the legal sequential number when you issue.
- myDATA Inbox (Received Documents). Paste the credentials from Step 0: User ID (the field is labelled “sent as
aade-user-id”) and Subscription Key (labelledOcp-Apim-Subscription-Key). These also power the “Sync from myDATA” button that pulls in documents suppliers issued to you.
Full detail: Settings · Documents.
Step 3 — Turn e-invoicing on
Where: Finance → Settings → e-Invoicing. This section tracks your activation through the platform's Novus → myDATA connector.
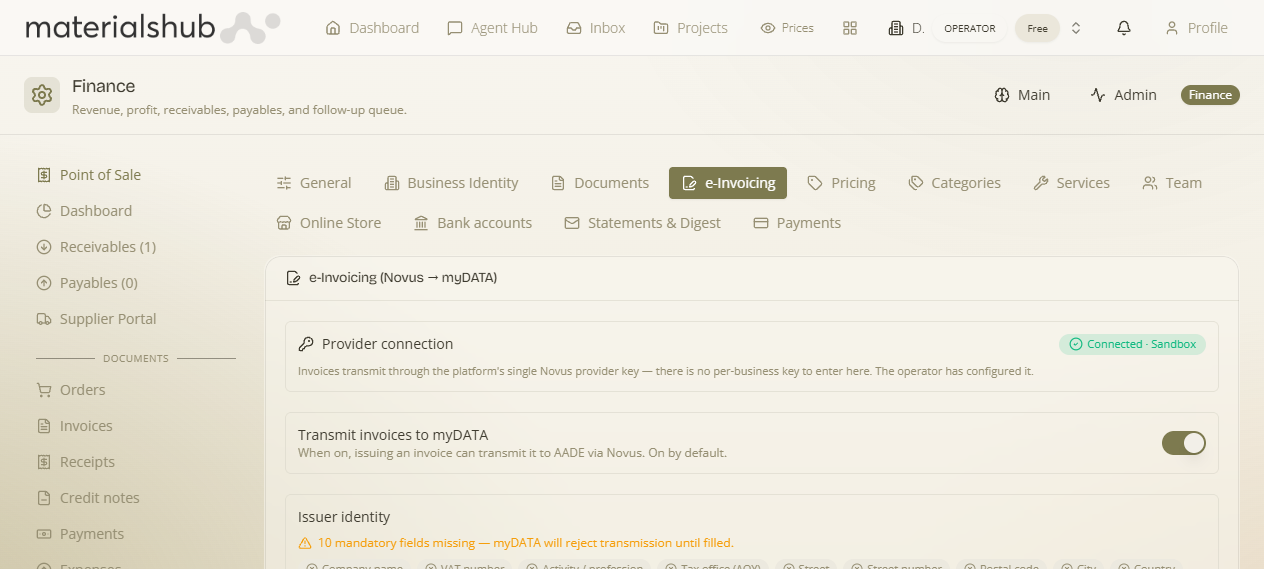
- Set the Status as you progress (it starts at Not requested).
- Add an optional Note for your own records (contract number, date submitted, who handled it).
- Click Save status.
Step 4 — Issue an invoice (and transmit it)
Where: Finance → Invoices → New. The editor has myDATA-specific fields — here's what each one is and what to put:
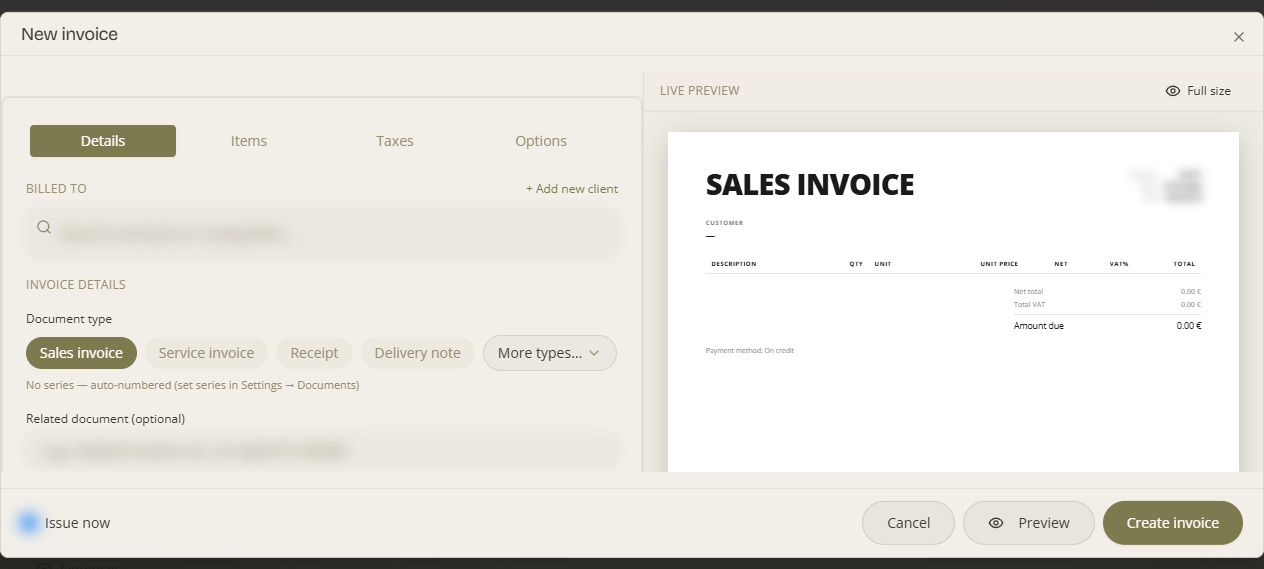
| Field | What to put |
|---|---|
| Billed to | Search and pick the customer (or “+ Add new client”). For a Greek business customer, their VAT is validated before you can issue. |
| Document type (myDATA) | The myDATA classification, shown with its code (e.g. “1.1 — Sales Invoice”). Pick the one that matches what you're issuing. |
| Related document | Optional — the myDATA MARK or number of a related invoice (e.g. for a credit note). |
| Date issued · Payment terms · Currency · Default VAT % | Standard header values (these can default from Settings → General). |
| Line items | Add products/services; each line carries its VAT category. Use “Pick from products” or add custom lines. |
| Withholding tax · Digital transaction fee | Add where they apply (myDATA reports these separately). |
| Payment method (myDATA) | Choose the myDATA payment classification (e.g. “3 — On credit”). |
| VAT payment suspension · Self-pricing | Toggle if your case requires it. |
| B2G — public-sector invoice | Toggle on if you're invoicing a public-sector body. |
The issue-time switches
- Tick “Submit to myDATA on issue” — this is what actually transmits the document.
- Optionally tick Print online code / QR, Include in MYF report, send by email/SMS, etc.
- Click Issue now — this assigns the official sequential number and date and (with the toggle on) sends it to myDATA. Until you issue, it stays an editable draft.
Full editor reference: Documents · Invoices.
How to tell it worked — the “mD” column
Back on the Invoices list, the mD column shows each document's myDATA transmission status, so you can see at a glance which invoices have been reported and which haven't.
VAT validation (why it matters)
Before a document is issued, the customer's VAT number is checked — Greek numbers against the ΑΑΔΕ registry, EU numbers against VIES. You can make this stricter in Settings → General (block issuance to an inactive or never-validated VAT). Fixing a wrong VAT before issuing is far cheaper than correcting a rejected myDATA submission afterwards.
Quick checklist: ① Business Identity saved (with Fetch from ΑΑΔΕ) → ② a document series created and myDATA User ID + Subscription Key pasted → ③ e-Invoicing status set → ④ issue an invoice with “Submit to myDATA on issue”. After that, every issue reports automatically and the mD column confirms it.