Sales Portal
The Sales Team portal is a focused workspace where sales reps build orders and quotes for their customers, track each one through to acceptance, and log their trip expenses — without seeing the full finance back-office. This guide covers what's on the screen, how to raise an order step-by-step, the status lifecycle, and the rep's other tools.
What it is & who it's for
It's the rep-facing slice of the platform. A rep lands here (instead of Finance/CRM admin) and works a simple list of their own orders. Each "order" is effectively a quote raised on behalf of a customer: name it, attach the customer, add products, and submit it. It pairs with the Agent Hub for logging sales-trip expenses, and with CRM for the customer records.
How to open it
Top navigation → Sales (shown only to accounts with the sales.portal capability), or open /sales directly.
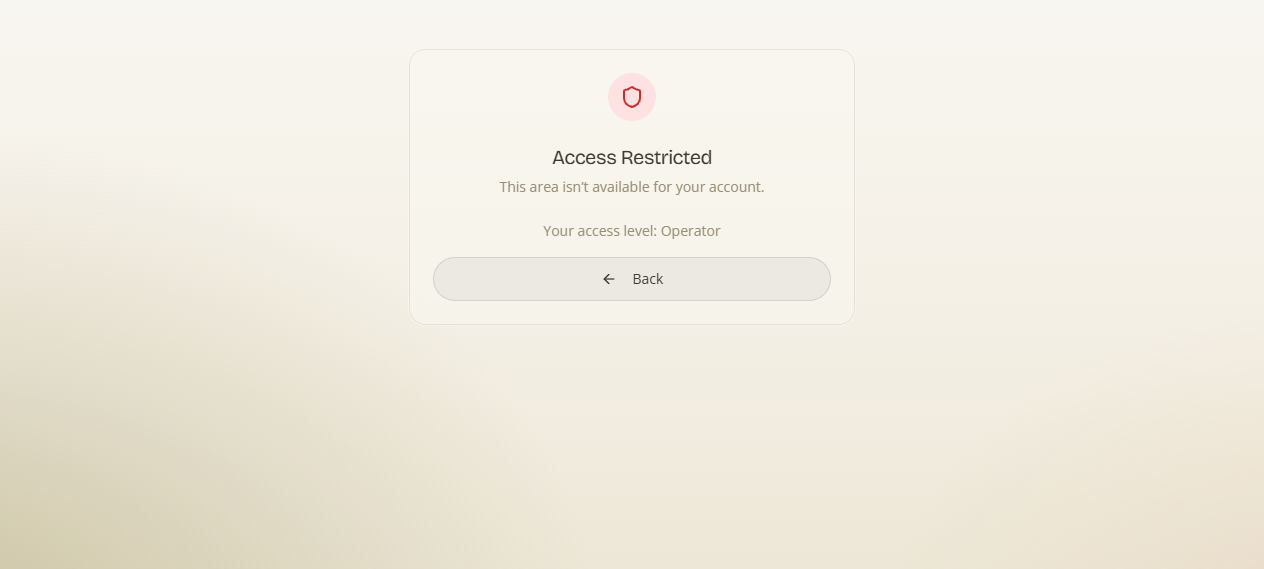
Access note: the portal is gated. Accounts without the sales capability (including operators who haven't been granted it) see an "Access Restricted" screen showing their current access level — so the screenshot below is the gate, not the portal. To get in, ask a workspace administrator to grant the sales role (via Finance → Settings → Team or CRM user management).
What's on the screen (for a sales rep)
The portal header reads "Create orders and quotes for your customers." Below it:
- Four summary cards — Total Orders, Submitted, Accepted, Drafts — your pipeline at a glance.
- Your orders list — a table of the orders you've created, with columns Order (its name), Customer, Status, Created and Actions. Each customer links through to their CRM detail. Empty state: "No orders yet. Create one for a customer to get started."
- New order — the button that opens the create dialog.
Step by step: raise an order/quote for a customer
- Click New order — the New order dialog opens.
- Under Customer, search your contacts/companies and pick one. If the customer isn't in CRM yet, add them inline (a quick contact create) — then they're selected. (If you skip this, the portal warns "Pick a customer first.")
- Give the order a name (e.g. "Kavouri villa — bathroom package"). Leaving it blank prompts "Name the order."
- Click Create. The order is created as a draft and appears in your list.
- Open the order and add products to it (catalogue or custom lines) — it builds exactly like a quote.
- When it's ready, submit it. As the customer responds, the status moves to accepted.
The status lifecycle
| Status | Meaning |
|---|---|
| Draft | Created but not yet sent — still editable. |
| Submitted | Sent to the customer / handed off. |
| Accepted | The customer accepted it. |
The summary cards count each status so a rep (or their manager) can see how many orders are in flight versus closed.
Expense cards (record & claim your spend)
Reps record out-of-pocket spend on expense cards — a Trip (default), a Monthly card, or Other. Open the Expense cards page at /trip-expenses → New card → pick the type, title it (a trip also has Destination + start/end dates) → add expense lines (transport, hotel, meals…) with receipts → Submit to finance. Finance reviews each line and approved totals are reimbursed. Finance can also request a card from you (you'll get a notification with a note about what to include).
You can also do it hands-free from the Agent Hub (JARVIS): "create a trip card for the Athens hotel visit" → "add a €40 taxi expense" → "submit the card". Full detail (types, statuses, review, request-from-teammate, notifications) is on Finance → Expense cards.
How to get access
If you should have the portal but see the restriction, ask a workspace administrator to grant you the sales capability. Once enabled, Sales appears in the top navigation and opens the portal. Reps also get read access to CRM customer details for the customers they work with.